
Since the mould was to be made in sections next thing was to provide for this so a pair of plasticene “dams” were placed, one at either end of the top run of the plug, the surface cleaned off with acetone and then this section painted with a parting agent so the moulding would split off the base more readily.
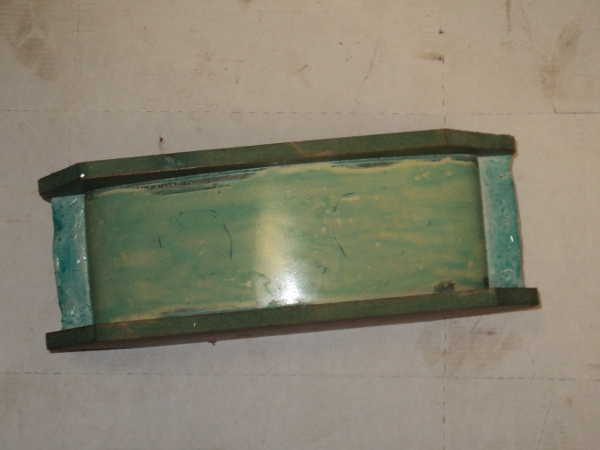
Plug ready to use with the Plasticene “dams” visible, the blue tint is the parting agent.
First thing was a layer of gelcoat, this is the consistency of jelly paint and sets to give a smooth gloss surface against the plug or mould so about 75ml was poured into a mixing cup and 2% catalyst added.
To get the amounts right I put the kitchen scales inside a plastic bag to keep them clean and weighed the resin used.
The two components were thoroughly mixed together and the resulting gel brushed onto the prepared section of the plug.
Gelcoat takes around an hour to set so the job was put to one side in the warm and left to set.
While this was going on I prepared for adding the support layers. Since the plug was 100mm wide I cut 4 strips of glass mat, each 100ml wide and long enough to cover the section, I also cut two pieces of thin plywood 20mm wide by 100mm long to reinforce at the joints.
Once the gelcoat had set next thing was adding the first support layer. These layers are of glass mat reinforced resin so as I already had the mat prepared it was now a case of “Mix the resin”.
About 120mls of the laminate resin was poured into a mixing cup and weight checked, 2%of the catalyst was added and the whole well mixed.
A generous layer of this resin was then brushed over the gelcoat and the first strip of the glass fibre mat laid onto this.
More resin was added to the topside of the mat and worked into the mat so that it was in close contact with the gelcoat, a roller made this job easier and the plywood reinforcing pieces were put in place at the two “dams”.
A second layer of glass fibre was then added over the first and “wetted out” with resin as before and the job put aside to allow the resin to set.
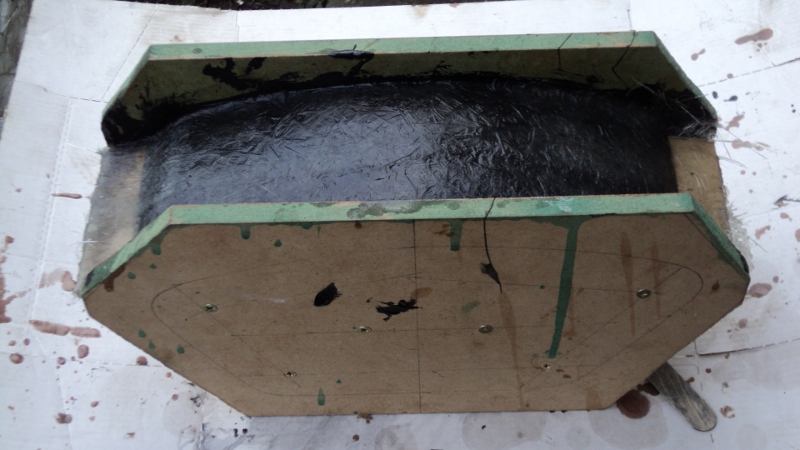
Plug with first layers of mat added, the plywood end reinforcements can readily be seen
Once it had hardened then the whole thing was repeated to add another two layers of the glass reinforced resin and the job left overnight to setup.
The plasticene dams were then removed and the areas where they had been was cleaned off with white spirit to wash away the plasticene.
Another dam was put halfway along the bottom run of the plug so that the final mould would be in three pieces.
The ends of the first section were tidied up by removing surplus glass matt, the section wiped clean with acetone, coated with parting agent, laid up with glass fibre and left to harden.
Then the last plasticene dam was removed and the whole rigmarole repeated for the last section, after which the whole moulding was allowed to dry and harden overnight.
Two locating holes were next drilled in each of the section ends, where the dams had been, and then the screws securing the side pieces removed and these were knocked off.
A plastic wedge was used to separate the pieces of the mould and these were cleaned up with acetone and polished.
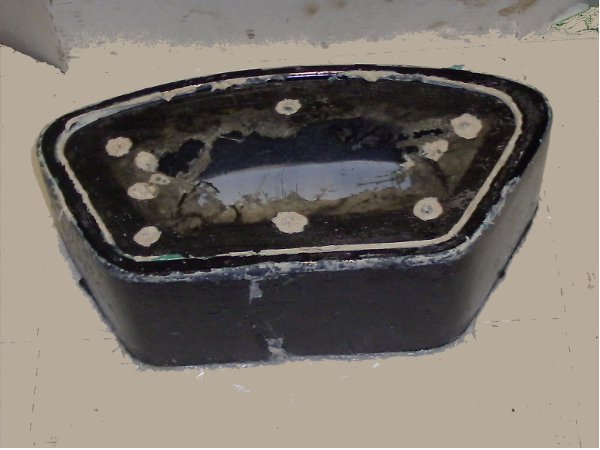
Now the mould for the door face had to made up.
For this a piece of plywood was cut to fit neatly inside the mould and then another piece cut to the same shape but 12mm smaller all round. This smaller piece was centred onto the first and secured in place.
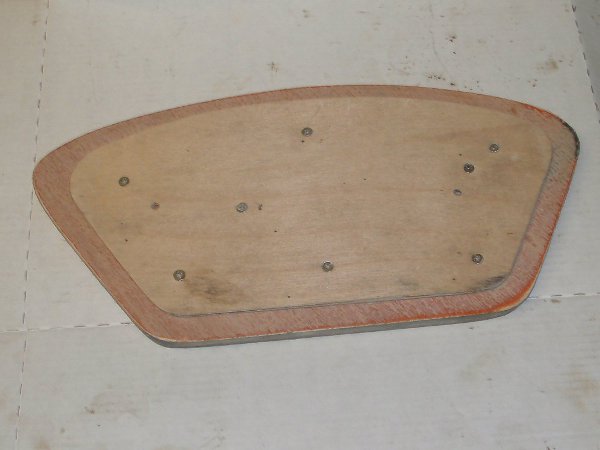
Mould for door face
A fillet of Plasticene was then put round the join between the pieces and to make it a concave fillet it was smoothed over with the ball end of an old pushrod. This gives a nicely rounded edge to the recess the door will fit into.
This assembly was screwed onto a piece of MDF board and the parts of the main mould then bolted together round the “door” piece.
A Plasticene fillet was now put round between the main mould and the door, again being finished with the pushrod end.
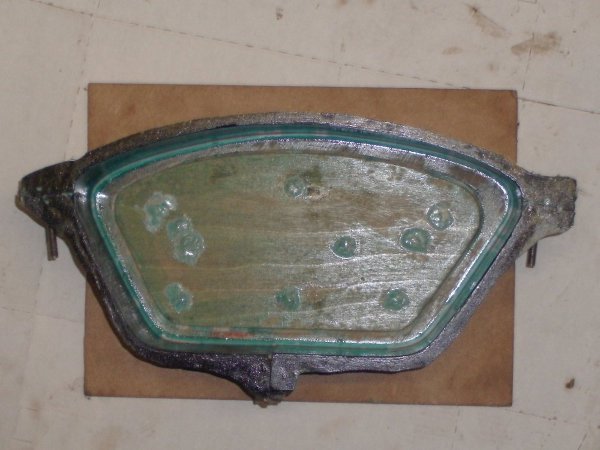
Mould ready to use
Procedure to make the toolbox moulding itself was much the same as for making the mould, wipe over with acetone, a coat of parting agent over the inside of the mould followed by a layer of gelcoat.
Once that had set the mould was then layered with glass mat and resin and left to cure.
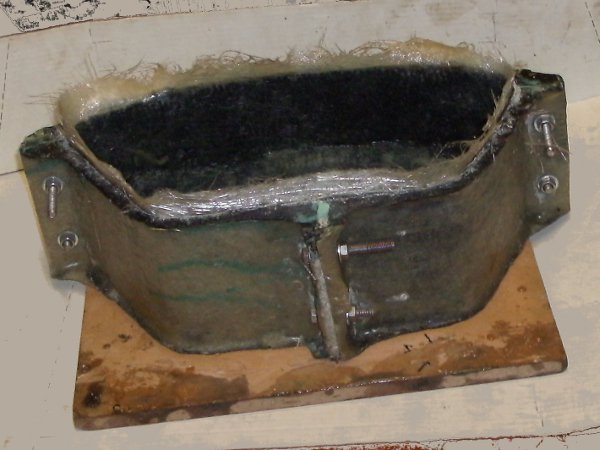
Toolbox casting in mould
The bolts holding the mould together were then removed and the mould peeled off the box moulding, the face piece was removed and I had the raw moulding of the toolbox.
 Raw casting just out of the mould (the white is the plasticine fillets)
To make the other box it was just a case of transfering the smaller part of the end piece from one side to the other of the main piece, re-assembling the mould the other way up and I then had a mirror-imaged pair of toolboxes just needing their door apertures cleaned up and the excess material round the moulding removed.
TO BE
CONTINUED