
Now that the rear wheel has been rebuilt it’s time to refit the brake drum and the sprocket.
When this old lady was built Panther, among others, were using a rear wheel assembly they bought in from Royal Enfield.
This hub had a separate, bolted on, brake drum on one side of the hub as well as a rubber block cushion drive shock absorber built into the sprocket assembly on the other.
The brake drum is simply bolted onto a spigot on the right-hand side of the wheel, nothing fancy although the drum does have a re-inforcing rib or fin cast onto its exterior to strengthen it and help prevent the drum from “belling” under heavy braking.
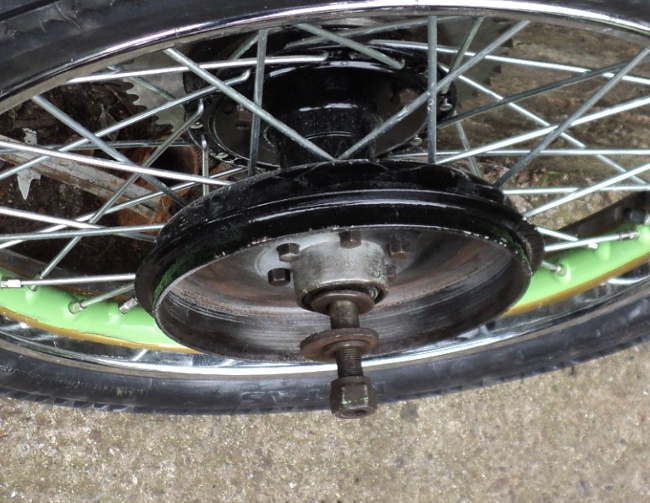
Rear Brake Drum
The re-assembly of the sprocket cush drive is a bit trickier.
This consists of a set of six rubber blocks in the hub housing with a cast rib going between every other pair.
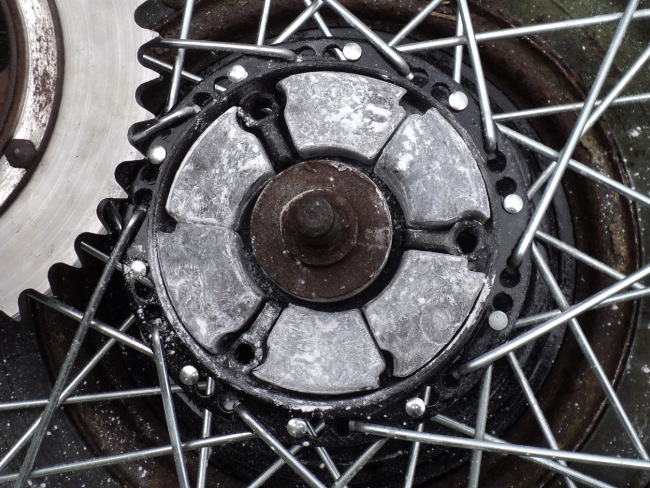
Cush Drive and Rubbers
The sprocket has a similar set of three ribs that go in between the other blocks so that any snatching in the drive is cushioned.
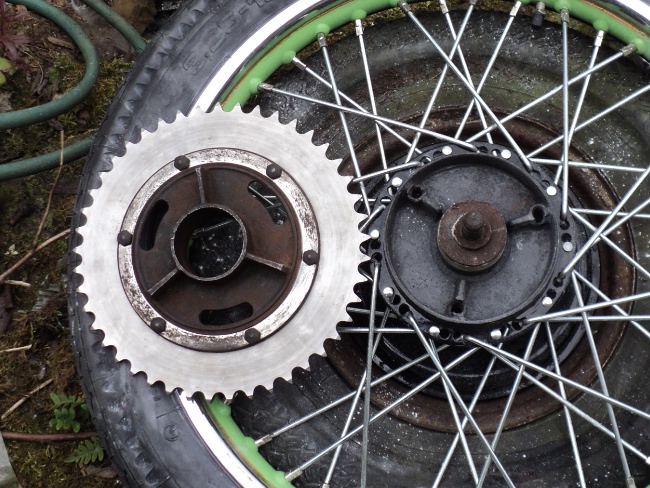
Rear Sprocket & Housing
This same system is still in use to give a smoother drive on many more modern motorcycles including some in current production.
When assembling the drive, if you just put the rubber blocks into their place and then try to fit the sprocket it just won’t go.
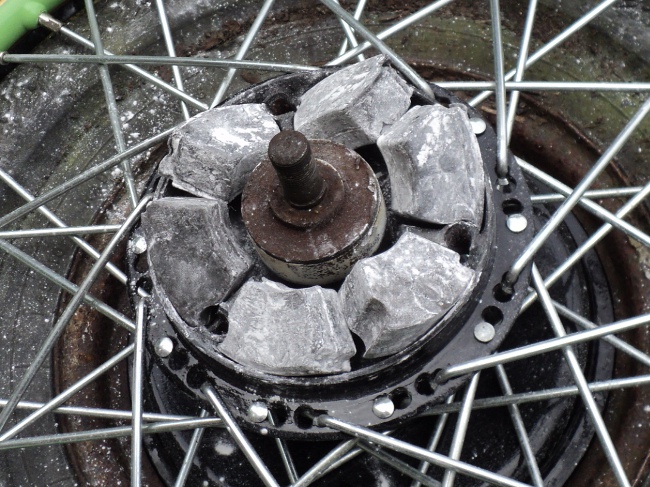
“tented” blocks
Trick is to “tent” the blocks and then the sprocket will readily push home.
As with everything a little lubrication works wonders and the lubricant of choice here is french chalk or talc.
I put the rubbers into a plastic bag and added a generous measure of talc, closed the bag and gave a good shake up.
This coated the blocks in talc and left them with a slippery surface. I put them in place, tented, dusted the sprockets drive ribs with talc and then pressed it into place.

Assembled Drive
You can also see here a useful trick for when you have to work on a wheel with a fixed axle, use the car’s spare wheel as a support. This means the wheel is stable rather than being balanced on the rim and the axle, and it is supported by the car tyre rather than a hard surface.
One point not mentioned yet is that the sprocket must be able to twist on its central mounting boss so this needs to be greased before fitting the sprocket into place.
There is a later version of this hub with the brake drum and sprocket in one assembly and Panther changed over onto using this hub in later years.
Just to be awkward it not only uses smaller and differently shaped rubber blocks but the brake assembly internals are different and this hub will not fit in place of the earlier unit.
As you can see the old lady now has a set of new shoes in that there are now tyres on her wheels.
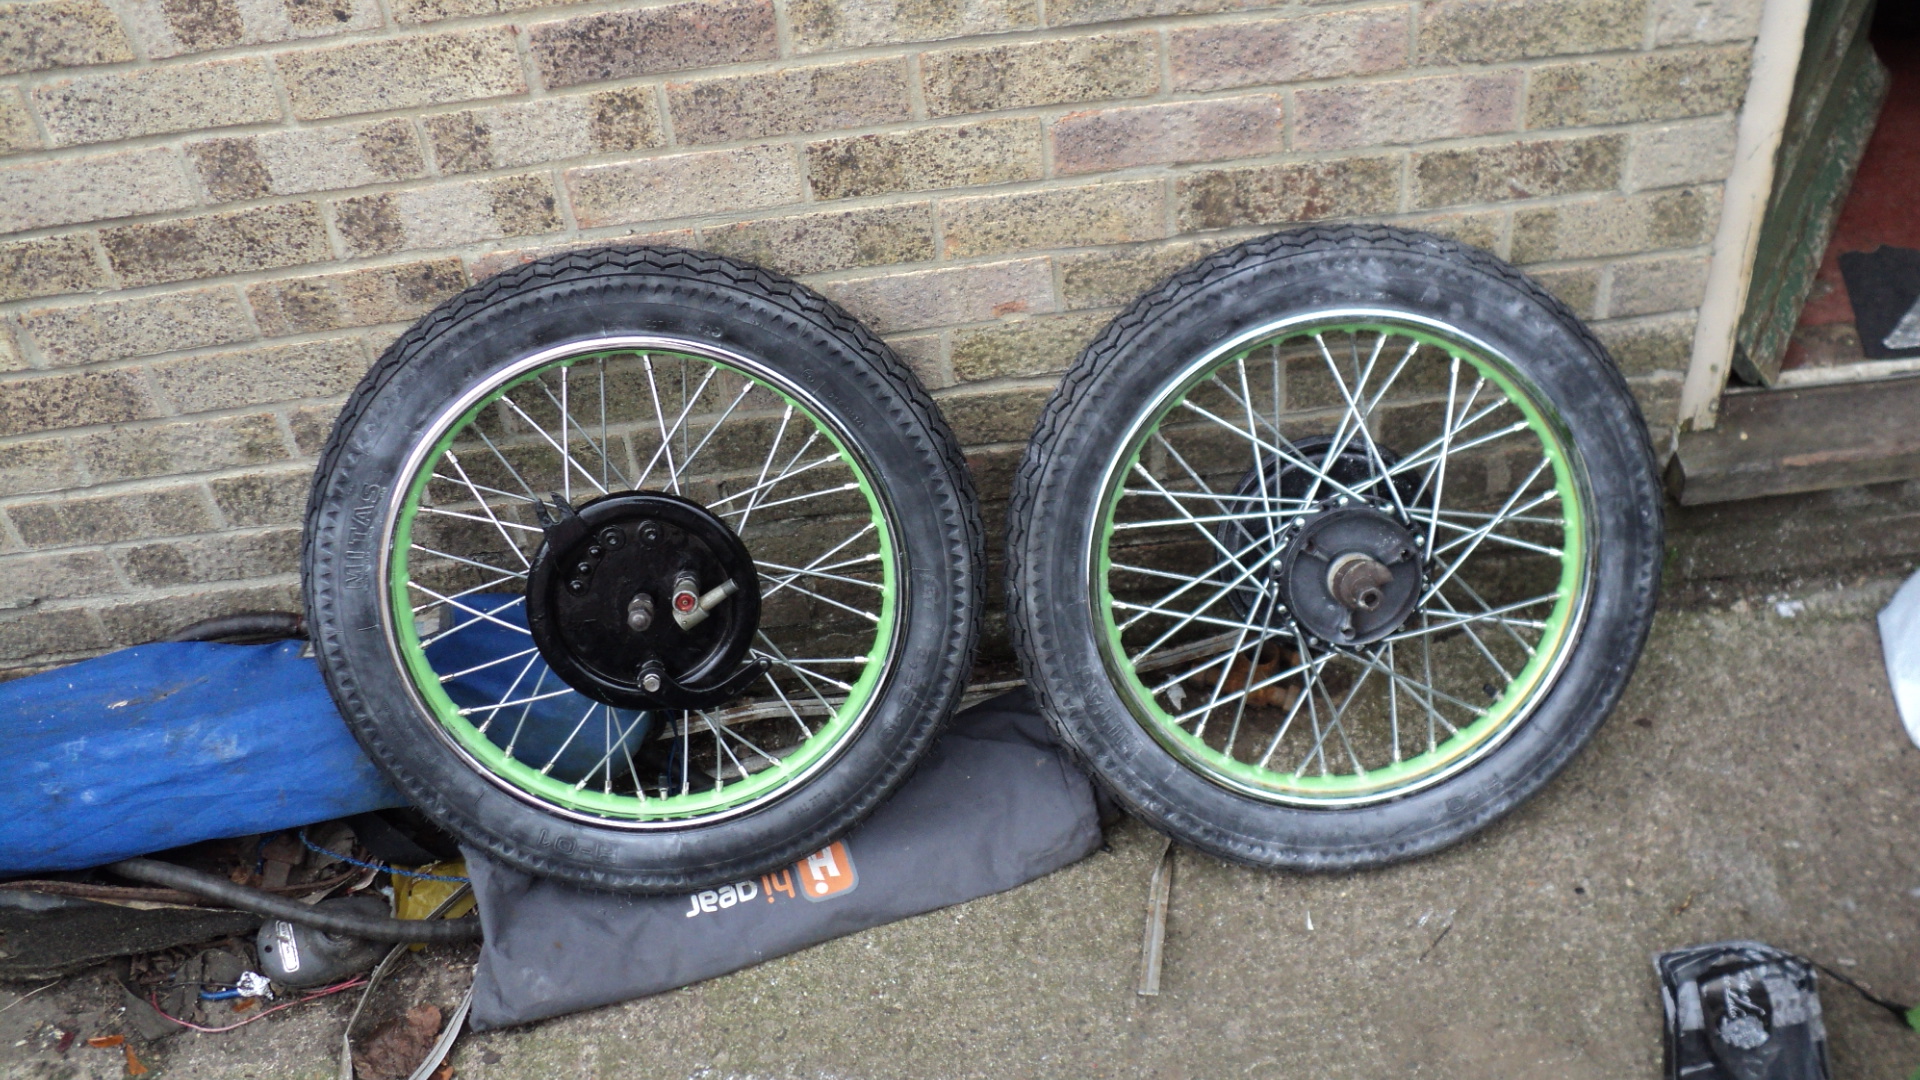
The New Shoes
As soon as there is space in the garage I’ll bring the frame down from the workshop and fit the wheels to it, I’ve currently an ongoing job on the sidecar outfit in there in what is earmarked as the Panther’s space.
I’ll then have an incomplete bike rather than a set of parts, a major step forward on the road to a complete bike.