
Having replaced the clutch springs a few weeks ago I’ve now some more miles up on the old girl and the clutch is not standing up to the strain.
I’ve more or less expected this since these older Panthers have a cork lined clutch and the plates in mine have seen an unknown amount of use.
They are beginning to slip a bit when kicking the bike over from cold and this of course will only get worse, so I’ve got to do something about it.
In among my Panther swag is a bag of the cork inserts.
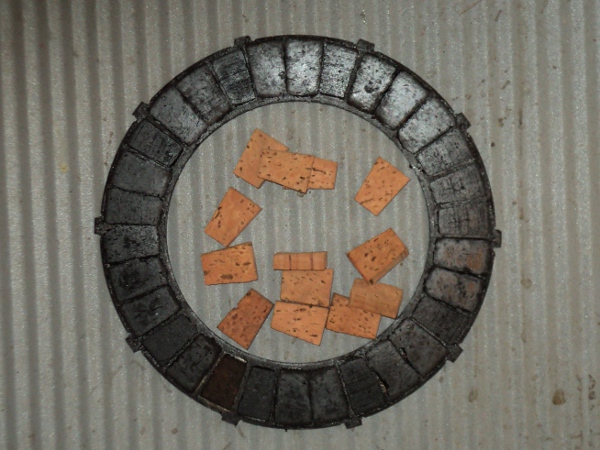
A worn plate and some new inserts
and I’d just have to fit them the insert plates, The tricky bit is to get them evenly inserted, I can’t just push them in and hope for the best so I had to make up a jig of some sort.
Since the inserts are each 1/4inch thick while the insert plates are 1/16inch thick, this means that the cork will stick through the plate by 3/32inch (the corks are 1/4inch, that’s 4/16inch thick so cork minus plate is 3/16inch, meaning 3/32inch protruding on each side).
What was needed was to arrange a support for the plate such that it was held 3/32inch clear of a flat surface so I could press the cork inserts in against the surface and that would do the trick, but I needed a fairly accurate 3/32 measure for the job.
Simple and cheap to use for this is silver steel rod, it’s easy to get and its diameter is accurate to a quarter thou’ so it was pop down to Cromwell Tools and get some from their stocks for the princely sum of £0.81 for a pair(plus tax!).
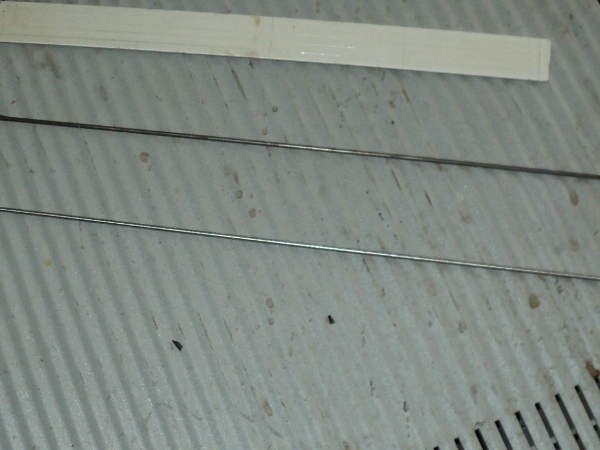
The two lengths of silver-steel
On the other hand there are the new inserts, these of course are now bone dry having been “in stock” for years and they’re a bit fragile so they needed to be softened up a bit.
The way to do this is to soak them, and to soak them in boiling water at that, so I popped them in a pan, added water and brought it to the boil. They were then left to stand overnight and next morning they had darkened in colour and were much softer to the touch and more flexible.
Next was to make up the jig.
This doesn’t need to be anything complicated since all it needs to do is support the insert plate 3/32 above a flat surface while the insert is pressed in.
What it’s doing is to support the insert plate on a length of the silver steel rod above the work-top and then arrange another two short lengths of the silver steel, one supporting either side of the aperture I’m working on.
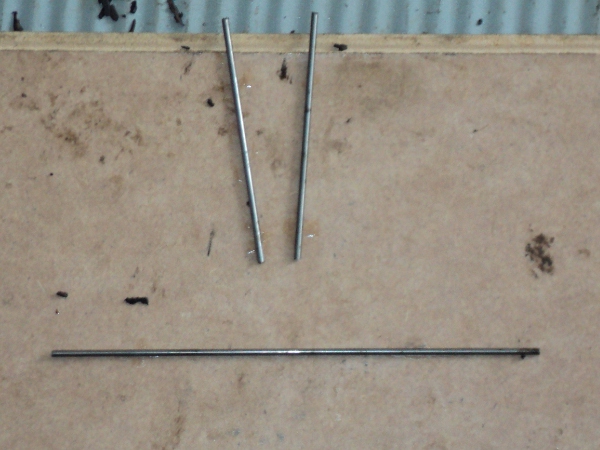
The jig, lengths of silver-steel superglued onto a backboard.
A piece of composite board formed the base and the silver steel was glued onto it with “superglue”.

Worn plate edge on
This picture shows one of the worn insert plates and you can see how thin it has worn.
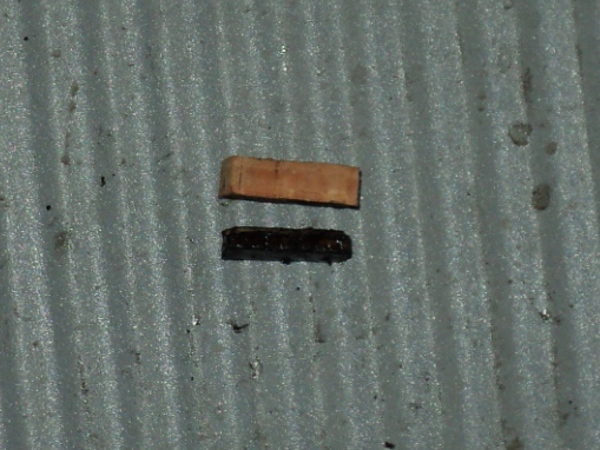
New and worn cork inserts
This shows a pair of the cork inserts, a new one at the top and one taken from the plate below it, As you can see it’s worn to less than half the original thickness and shows signs of charring.
Next step was strip out the old inserts and then fit the new cork inserts into the plate to the requisite depth.
Rather than fit an insert at a time in the jig I found it best to fit every other insert and then use the jig to set them to the same depth.
I then turned the clutch plate over and inserted the others from the opposite side and then levelled those ones with the jig.
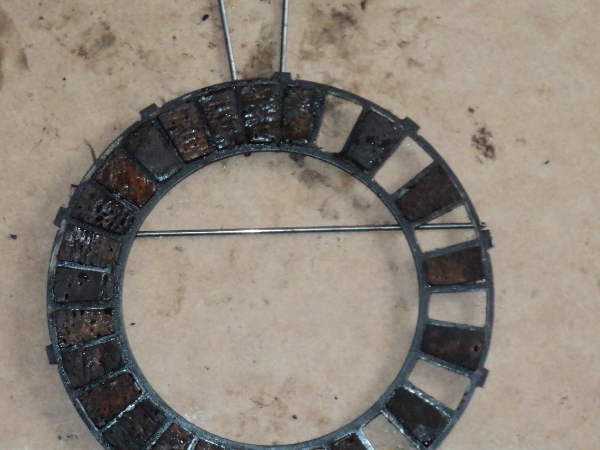
The plate 3 parts finished
The first plate on the jig, about 3 parts done.
To make sure the insert corks have a level surface either side of the plate was then touched up onto a sheet of emery-paper taped onto the flat surface until all the inserts were faced in.
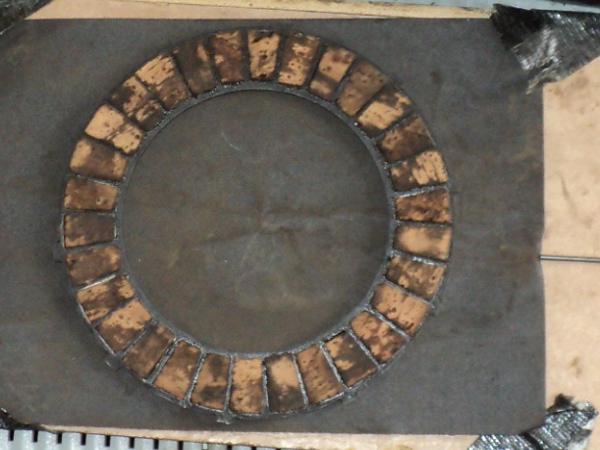
The recorked plate being finished off on emery paper
That was one plate done and there are three in all, with 30 inserts to fit into on each plate so it’s not a five-minute job!.
Once all three were done then it was just a case of rebuild the clutch and set everything up from scratch, as was done at the initial build.