
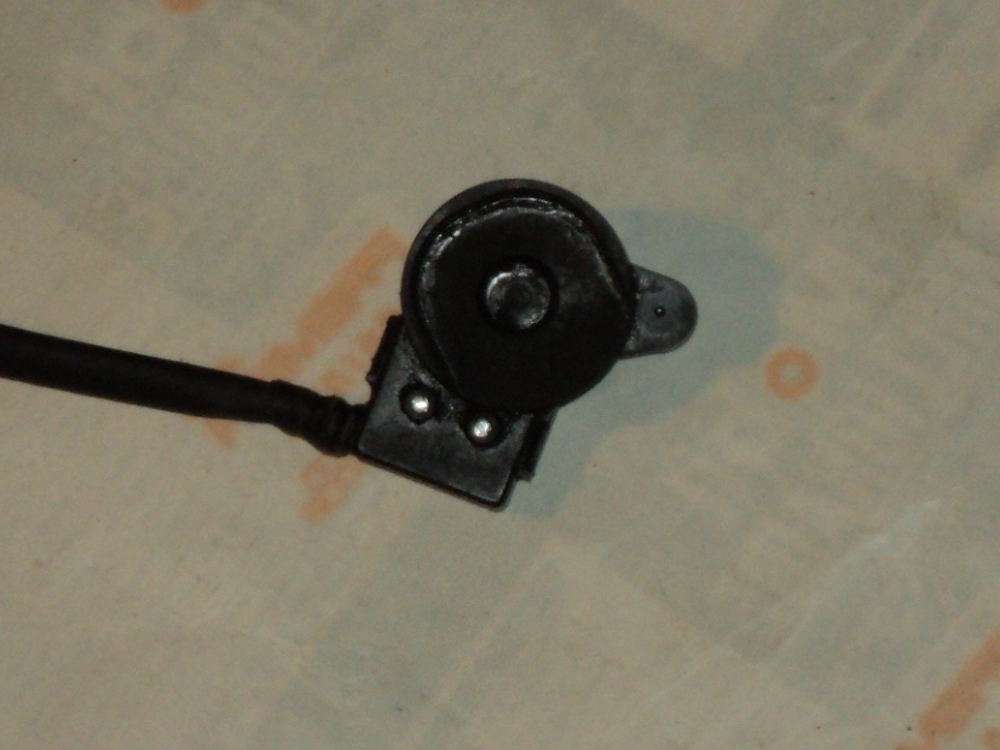
On the “oilhead” model BMW’s there is an interlock switch so that you are unable to pull away with the side-stand in the down position, you cannot even start the engine when it’s in the down position.
This is done by having a switch that is operated by the sidestand, a BMW special incorporating a micro-switch.
On my R850R this switch had gone permanently open circuit, so I could neither start or run the bike.
On visiting my local BMW emporium for a replacement I found that it was “Not Currently Available”, while it is still a listed spare there were none available, not even in Germany, not only that but they’re grossly overpriced for what they are, according to the dealer the current price is just over £110 !!.
Fortunately it is a simple matter to bypass the switch, so I was not left with an inoperative bike but to do this I had to bypass a safety system, not the best of ideas!.
So, nothing ventured nothing gained, I removed the switch to have a look at it.

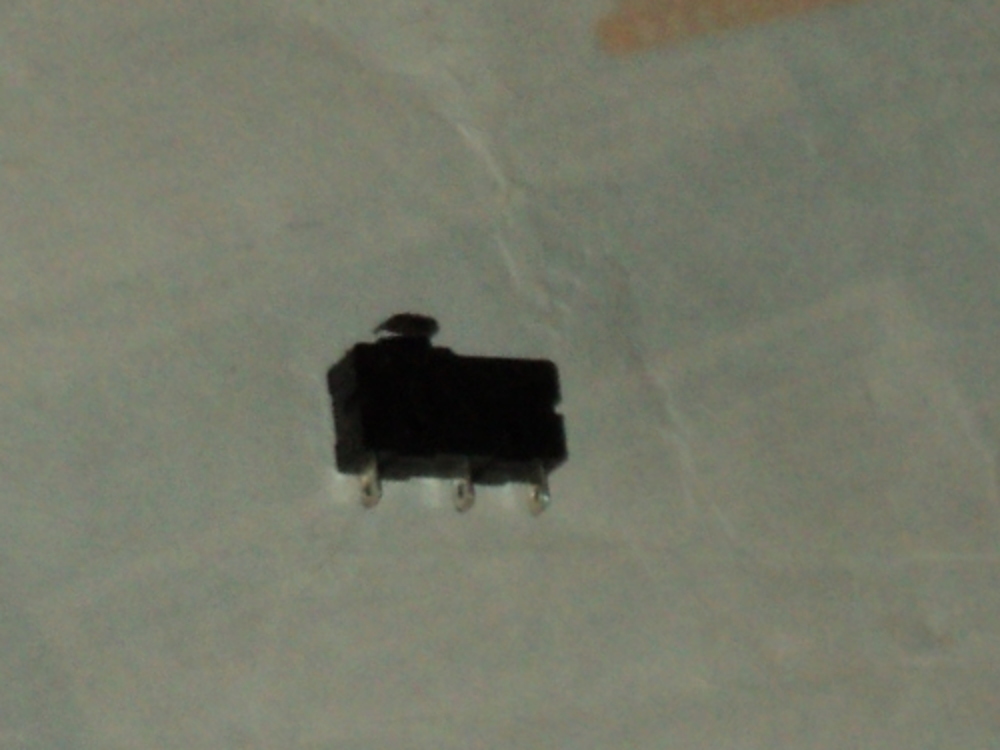
The interlock switch
As expected it was not meant for servicing but when I had a good look I could see how it had been assembled.
There were a couple of moulded tabs and a steel locating pin so first step was the pin.
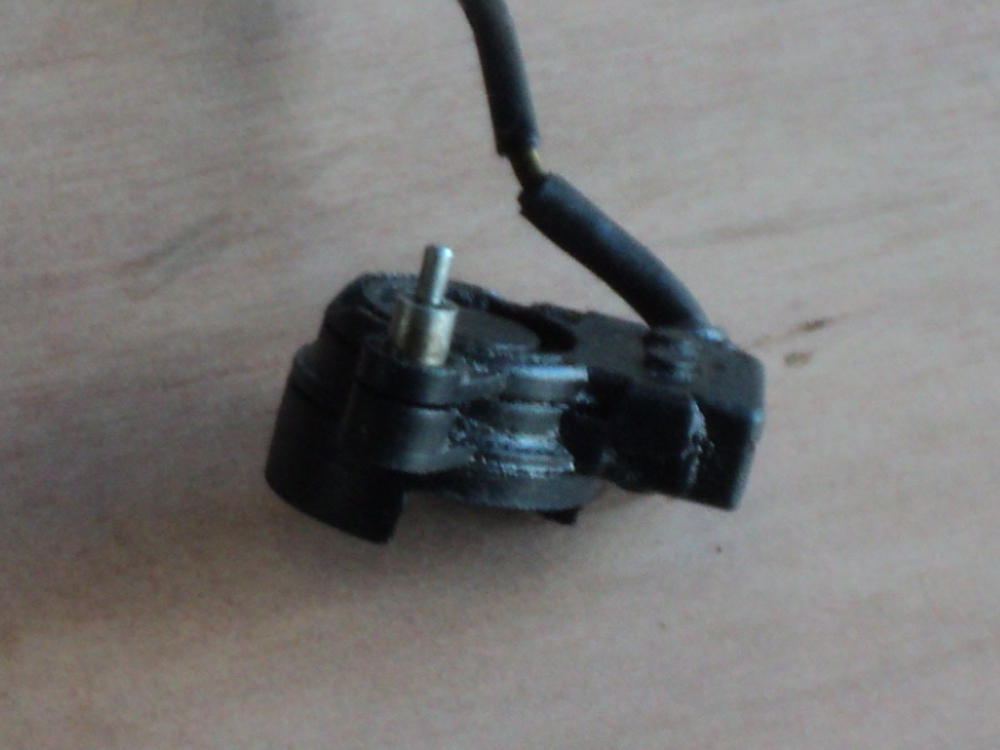
The metal locating pin half-way out
I gripped this pin with a pair of pliers and it came straight out with a twist and a pull. I then pried the tabs back a little and ran blade round in the joint between the parts of the assembly.
It took a bit of fiddling what with having to pry and split at the same time but the two halves soon came apart.
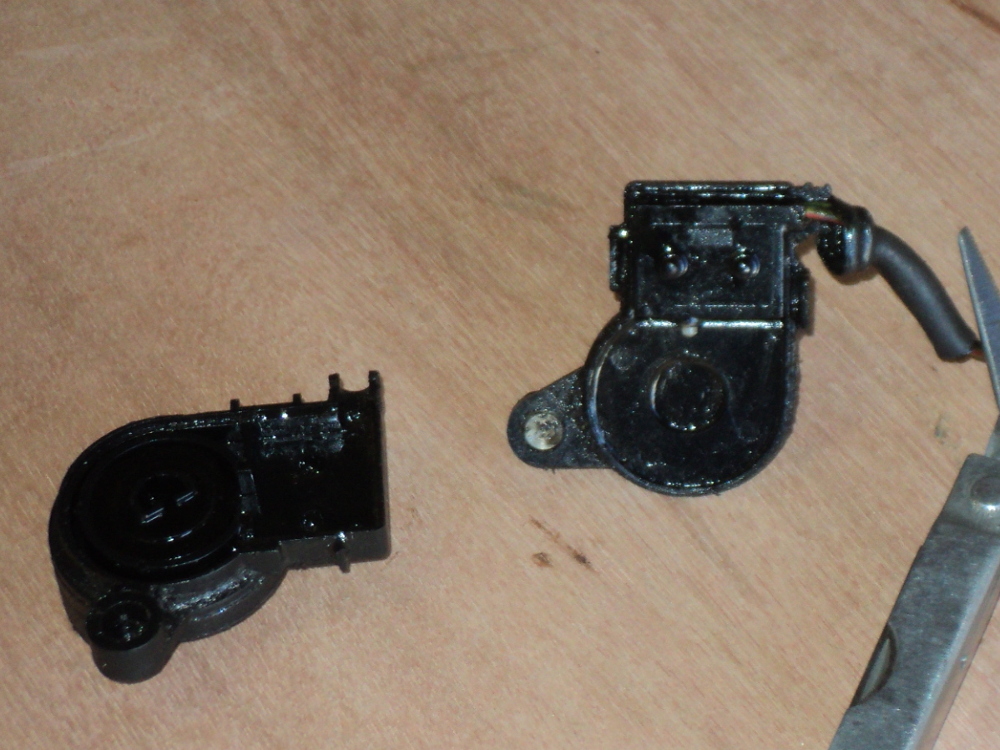
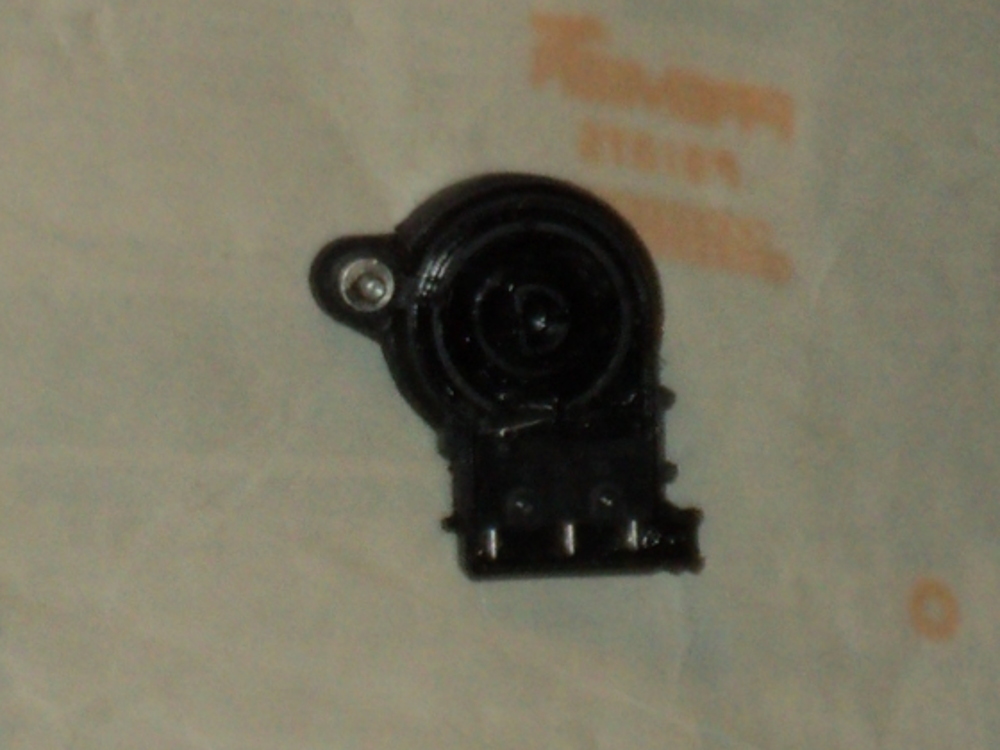
The opened housing
Now I could see how it worked, there was a plastic cam bearing onto a micro-switch.
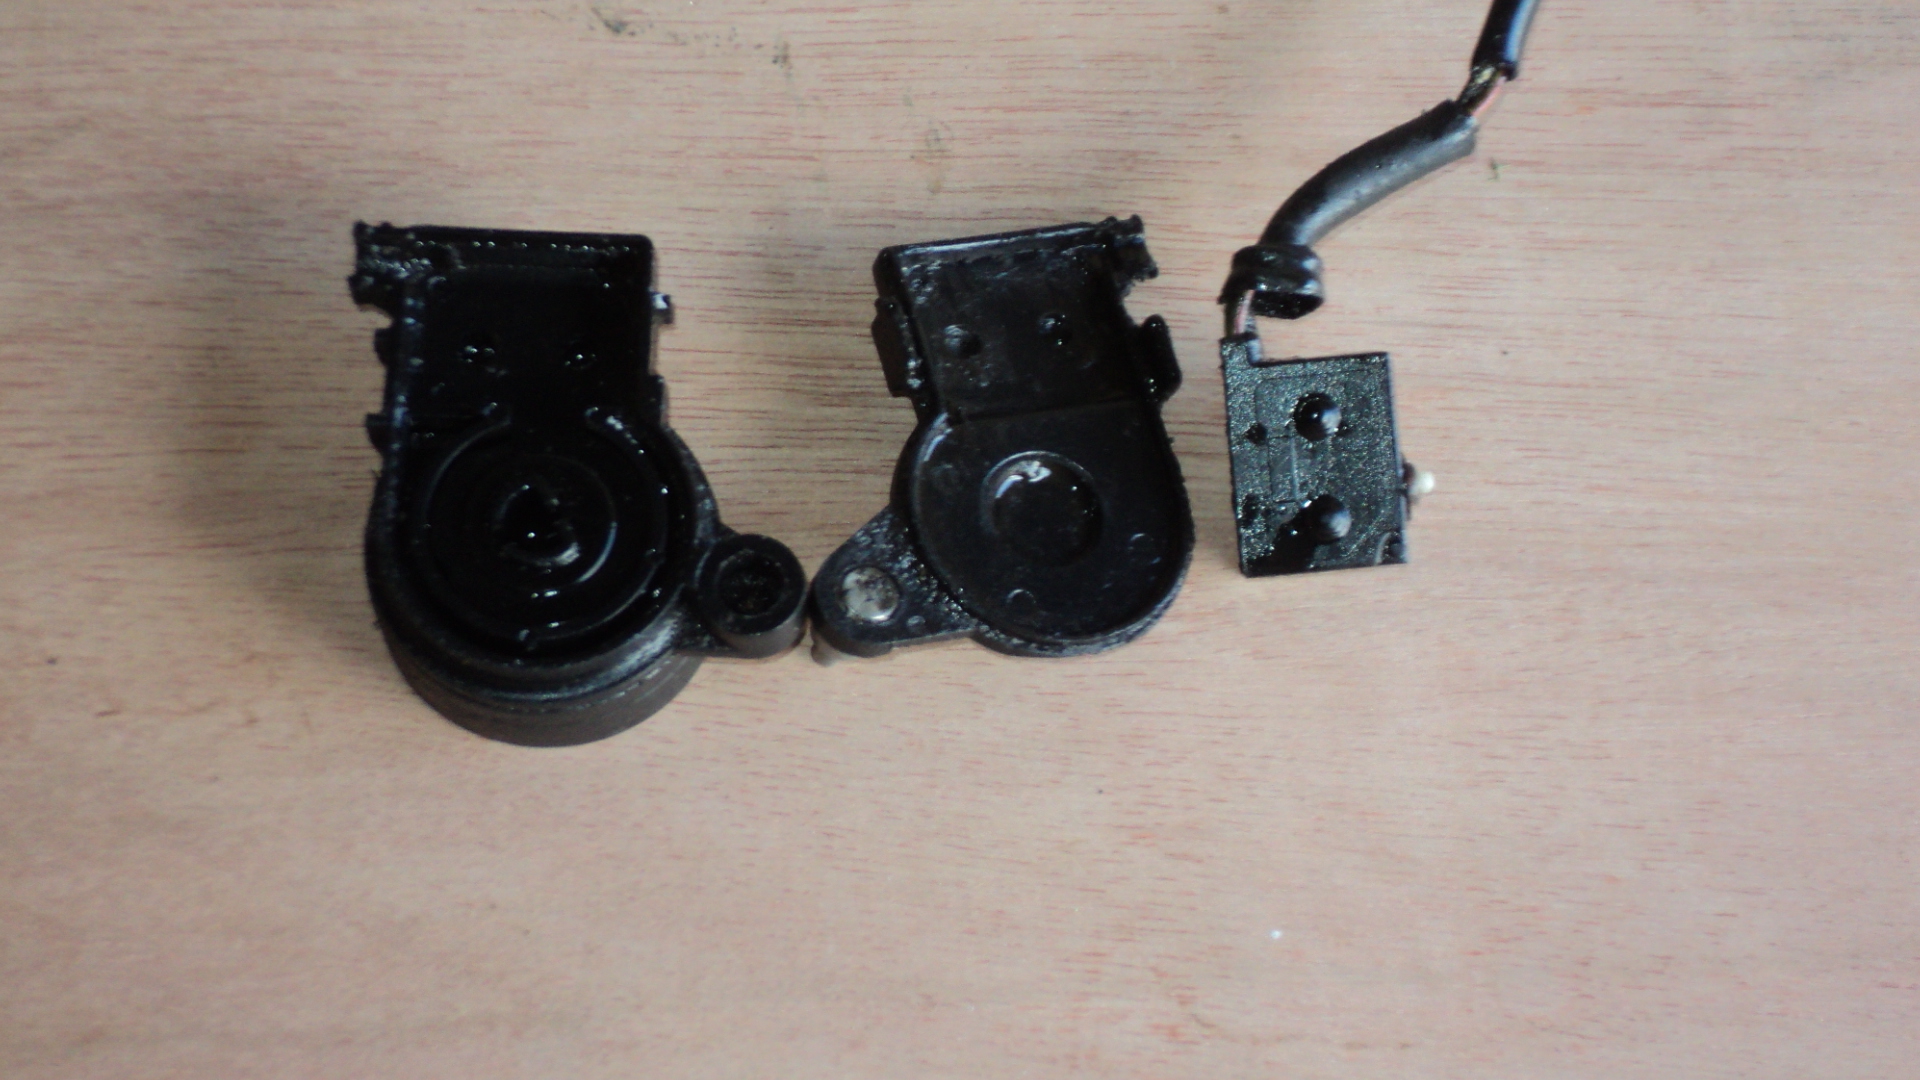
The switch components
The micro-switch body was deeper than the standard one but since it had the wiring loom coming direct of it rather than having the more normal terminals this is probably why.
Anyway, because the standard switch is shorter it can easily be fitted into the available space and it can then be fixed in place.
So I now needed a suitable switch and the obvious place to try round here was the local branch of MAPLINS.
A look on their website confirmed that they had a range of micro-switches, all in the C.O.(Change Over) format, that is that rather than their being simply either N.O.(Normally Open) or N.C.(Normally Closed) their connections were switched from one state to the other.
This meant that I had no worry as to which was the correct conformation for the job, it was just a case of finding which one would fit best into the casing so it was off to the local branch.
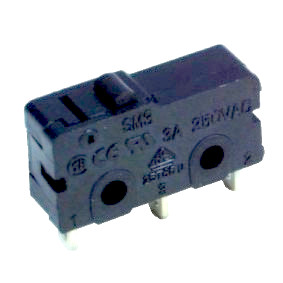
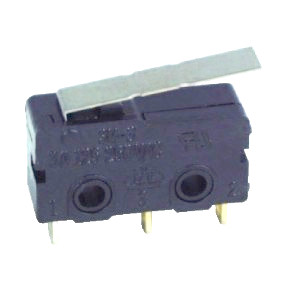
Plunger type micro-switch
Once there I soon found a snag, the switch plunger on the new switch did not touch the cam.
It turns out that the standard “offset” on a micro-switch plunger is 1.2mm and BMW in their ineffable wisdom have elected to use a non-standard switch.
Idea is presumably to force the purchase of their dedicated (and expensive) switch but however there is a way round this snag, there is an alternative switch has an operating lever.
Basic lever type micro-switch
This lever that can readily be bent into a suitable shape using round-nosed pliers, so I got one of those switches at a price of £2:29, that’s just not quite 1/50th of the price of the BMW part.
The lever bent to shape
Once I had the lever bent into the requisite shape I found that the plastic housing round the cam was fouling on the base of the lever and this was preventing the new switch from going fully “home” into position in the housing, but a little careful easing with a router bit in the Dremel soon got round this.
Lever switch installed in housing
Now the switch had to be fixed in position. The original had located with pegs on its sides that located into recesses in the housing but the new switch body had a pair of mounting holes rather and these were just under 3 mm in diameter.
These holes however lined up nicely with the recesses in the housing so it was just a case of opening these through to take the appropriate countersunk head bolts.
Finished job with screws in place
I’ve committed the heresy here of using the old 6BA size for this, simply because I had some in stock along with having the appropriate tap, rather than having to buy in metric machine screws and taps.
All that was left to do was connect the wires to the switch and close up the housing, test the whole assembly and then, once it was found to be working, refit it to the bike.
Job Done!