
The last of the foot controls needing “adjustment” was the brake pedal and this was also the most awkward one to do.
When I got the bike it was in this shape and not knowing any better, I assumed this to be correct:-

Brake pedal “As Was”
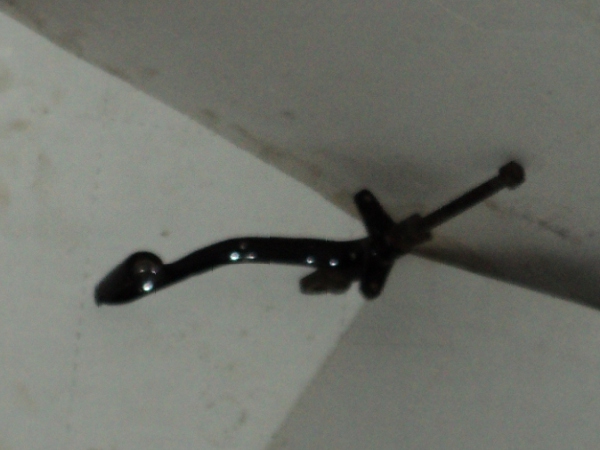
Bent Lever
As you can see the way the cables attach to it means there is a lot of “lost” motion of the pedal before there is effective movement of the cables.
Yes “Cables”, this old lady came with her front and rear brakes coupled together as standard.
At the pedal the top cable works the front brake, the bottom one the rear, all this back in the 1930’s, about 50 years before the Japanese manufacturers “invented” the system :^).
On closer examination it was found that the pedal lever was twisted at the point where it curved down and the toe-piece was bent in towards the bike.
In order to bend a steel forging like this it is necessary to get it up to high temperature, when it can be bent like warm toffee, so a gas torch was brought to bear on the job.
First thing to do was take out the twist and removing this almost completely eliminated the bend.
This had two other, connected, effects though, first was that it very effectively removed the paint from the lever and the other that once the paint was removed an earlier repair was revealed.
At some time before I got her the old girl has been dropped and this must have been the cause of the bent lever, however when being dropped the toe-piece of the pedal had also been snapped off.
This had been repaired by simply butting the two broken ends together and then brazing the joint up, so effectively the leverage to trhe rear brake was being taken by some brass brazing rod, Not an Ideal Situation!!
If the joint had been splinted as well then it would have been an adequate repair but not as it was.
To make a better repair the break was cleaned up, dressed and grooved.
The whole pedal was then set up on blocks so the toe-piece was correctly aligned and the parts “TIG-welded” together, this way the repair will be as strong as the original pedal was.
Once the lever had cooled down it was then dressed back and then given a coat of etching primer before having the imperfections made good with filler.
A few coats of primer/filler were then sprayed on and allowed to dry overnight.
Once this had been rubbed down smooth and level the black topcoats were added, followed by a couple of coats of clear lacquer and this was the result:-
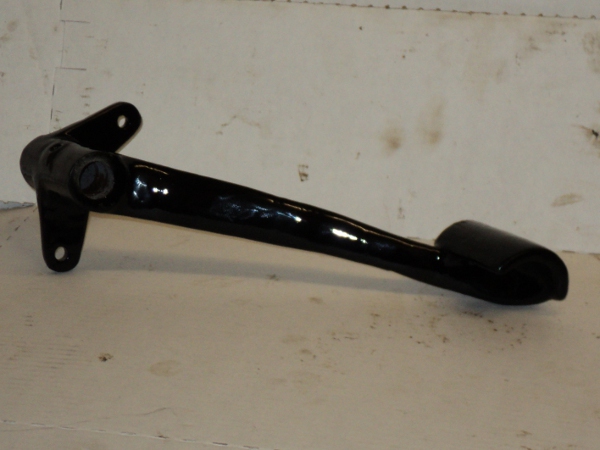
Repaired Pedal
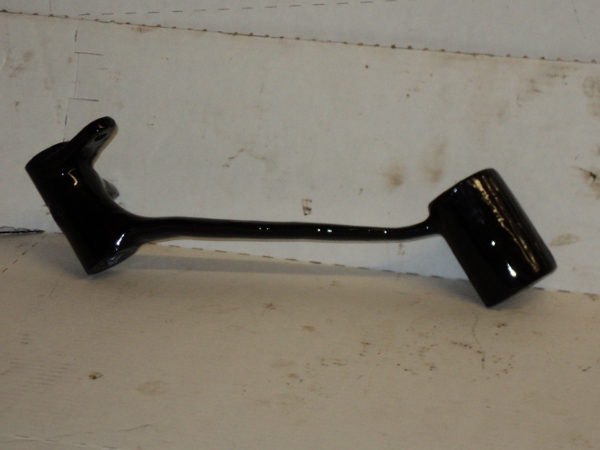
Repaired Pedal
Now the cable is making a 90 degree angle with the lever arm when at full stroke, which is what is required, not only that but the “lost motion” has been eliminated, giving a better “feel” to use of the rear brake.